How To: Clean Walls Like a Pro
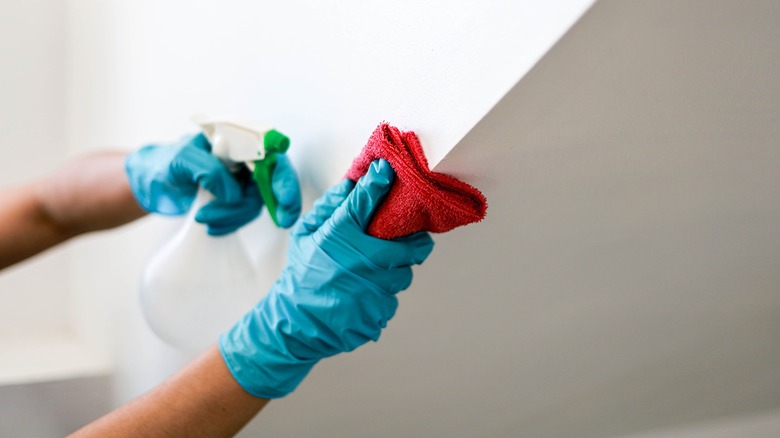
When it comes to home cleaning, we often focus on floors, countertops, and other prominent areas, but what about our walls? Walls are the silent witnesses to daily life, accumulating dust, stains, and grime over time. Giving your walls a good cleaning not only enhances the overall appearance of your home but also promotes a healthier living environment. In this comprehensive guide, we’ll walk you through the steps to clean your walls effectively, leaving them looking fresh and rejuvenated.
Step 1: Preparation
Before diving into the cleaning process, take some time to prepare your space:
- Remove Furniture: Clear the area around the walls as much as possible. If you can’t move large furniture, cover it with drop cloths or plastic sheeting to protect it from cleaning solutions.
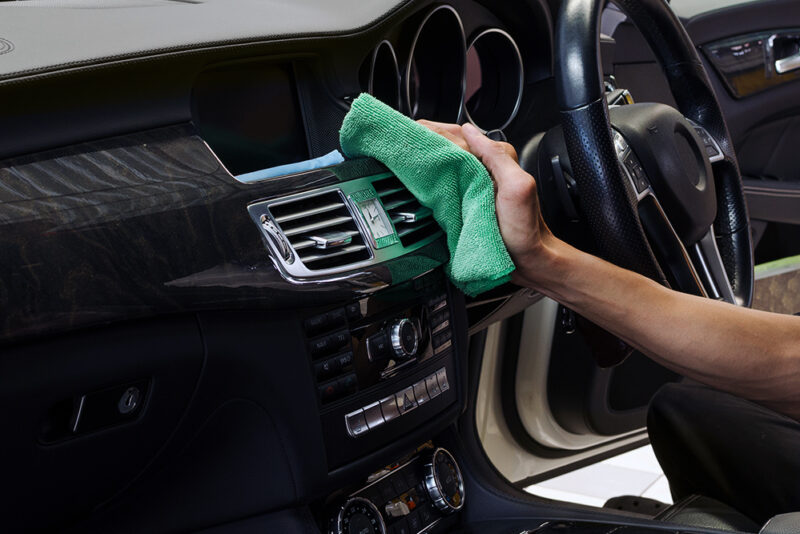
- Dust Surfaces: Use a dry microfiber cloth or duster to remove any loose dust or cobwebs from the walls. This will prevent the dust from spreading when you start cleaning.
Step 2: Determine Wall Type
Different types of walls require different cleaning methods. Determine the type of wall surface you have:
- Painted Walls: Most interior walls are painted, which makes them relatively easy to clean.
- Wallpaper: Be cautious when cleaning wallpaper to avoid damaging the delicate surface.
- Textured Walls: Textured walls, such as those with popcorn or stucco finishes, may require special attention to avoid removing the texture.
Step 3: Choose Your Cleaning Solution
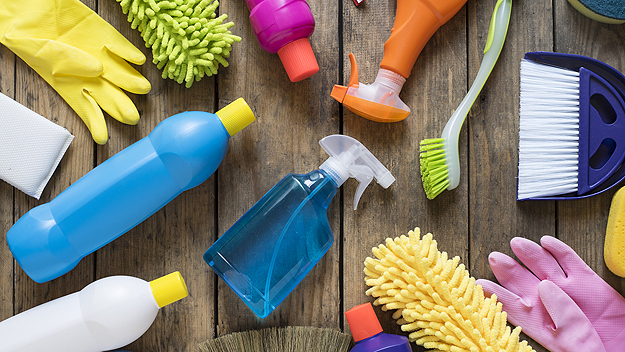
For painted walls, a mild cleaning solution is usually sufficient. Here are some options:
- Mild Detergent Solution: Mix a small amount of mild detergent or dish soap with warm water.
- Vinegar Solution: Mix equal parts of white vinegar and water for a natural cleaning solution.
- All-Purpose Cleaner: Choose a gentle, all-purpose cleaner suitable for painted surfaces.
Step 4: Test in an Inconspicuous Area
Before applying any cleaning solution to the entire wall, test it in a small, inconspicuous area to ensure it doesn’t cause any damage or discoloration.
Step 5: Cleaning Process
Once you’ve selected your cleaning solution and tested it, it’s time to start cleaning:
- Spot Cleaning: Begin by spot cleaning any visible stains or marks on the walls. Use a soft cloth or sponge dampened with your chosen cleaning solution to gently scrub the affected areas.
- Overall Cleaning: Working from top to bottom, use a clean sponge or microfiber cloth dampened with your cleaning solution to wipe down the entire wall surface. Be sure to rinse the sponge or cloth frequently and change the water as needed.
- Rinse and Dry: After cleaning, rinse the walls with clean water to remove any residue. Use a separate clean cloth or sponge for rinsing. Finally, dry the walls thoroughly with a clean towel to prevent streaks or water spots.
Step 6: Finishing Touches
Once your walls are clean and dry, take a moment to inspect them for any remaining stains or spots. Spot treat as needed, and then step back to admire your freshly cleaned walls!
Maintaining Clean Walls
To keep your walls looking their best, incorporate regular cleaning into your household routine. Dusting the walls periodically and promptly addressing any spills or stains can help prevent buildup and prolong the life of your wall surfaces.
With these simple steps, you can tackle wall cleaning like a pro, restoring brightness and freshness to your living space. So roll up your sleeves, gather your cleaning supplies, and get ready to transform your walls into a shining testament to your dedication to cleanliness and care. Lacking the time to take on this yourself? Jim’s Cleaning professionals are here to help! Contact us on 131 546 or book online today!
