Deep Cleaning Your Kitchen Appliances: A Step By Step Guide

The heart of every home is the kitchen, a bustling hub where culinary delights come to life. Amid the culinary adventures, our trusty kitchen appliances work tirelessly, helping us create sumptuous meals and unforgettable memories. Yet, with time and use, these appliances can become breeding grounds for dirt, grime, and hidden odors. In this comprehensive guide, we’ll take you through the process of deep cleaning your kitchen appliances, ensuring they not only shine on the outside but function efficiently on the inside.
Step 1: Preparing for the Deep Clean
Before diving into the cleaning process, gather the necessary supplies: warm water, mild dish soap, white vinegar, baking soda, microfiber cloths, scrub brushes, and a toothbrush for tight spots. Ensure that all appliances are unplugged to ensure safety during cleaning.
Step 2: Refrigerator and Freezer
- Clear and Declutter: Empty the contents of your fridge and freezer, discarding expired items.
- Shelves and Drawers: Remove shelves and drawers, soaking them in warm soapy water. Wipe down the interior with a mixture of equal parts water and vinegar.
- Gaskets and Seals: Clean the rubber gaskets with a damp cloth to remove dirt and debris.
- Condenser Coils: Vacuum or brush the condenser coils located at the back or bottom of the fridge to improve efficiency.
Step 3: Oven and Stovetop
- Oven Interior: Remove oven racks and soak them in warm soapy water. Wipe down the oven’s interior, removing burnt-on residue with a paste of baking soda and water.
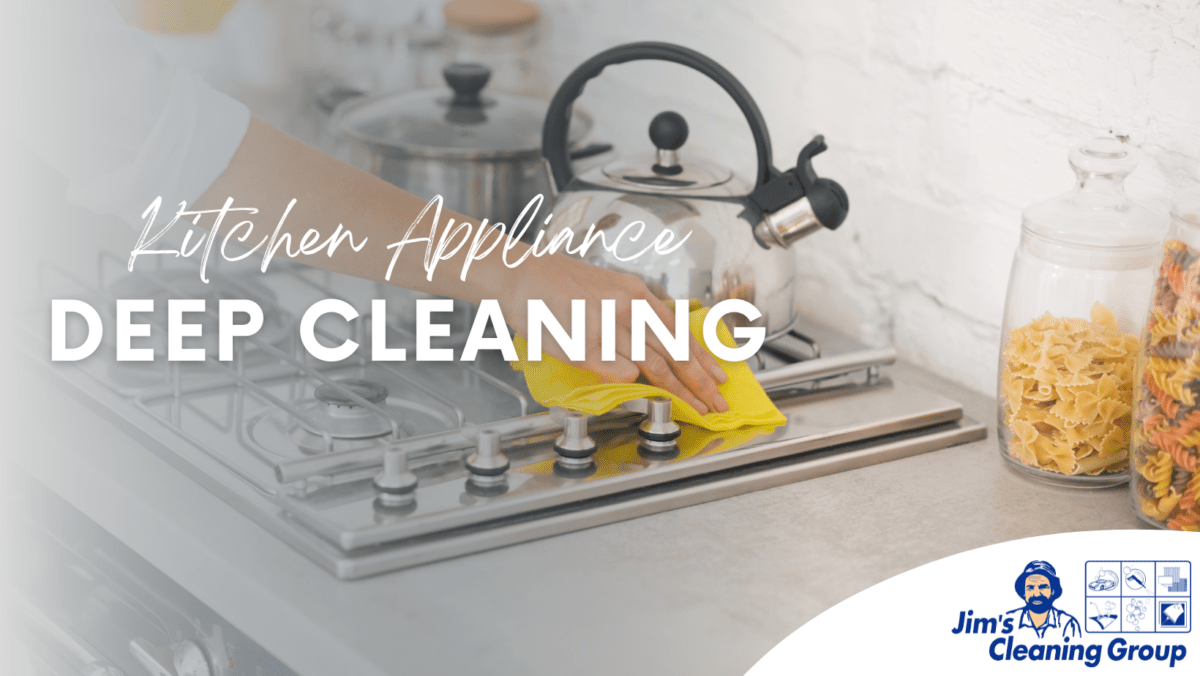
- Stovetop: Lift and clean the stovetop burners, grates, and knobs. For stubborn grease, use a mixture of baking soda and water.
Step 4: Microwave
- Interior: Wipe down the microwave’s interior using a damp cloth. To remove stains and odors, microwave a bowl of water with a few tablespoons of vinegar for five minutes.
- Exterior: Clean the exterior with a microfiber cloth and mild soapy water. Don’t forget the control panel!
Step 5: Dishwasher
- Filter and Spray Arms: Remove the filter and spray arms, cleaning them under running water. Use a toothbrush to dislodge debris from hard-to-reach areas.
- Interior: Wipe down the interior, paying attention to corners and the door gasket.
Step 6: Coffee Maker
- Decalcify: Run a mixture of equal parts water and white vinegar through the coffee maker to remove mineral deposits. Follow with several cycles of clean water.
- Exterior: Wipe down the exterior and carafe with a damp cloth.
Step 7: Toaster and Blender
- Toaster: Empty the crumb tray and wipe down the exterior. Turn it upside down and gently shake to remove crumbs trapped inside.
- Blender: Disassemble the blender, washing the components in warm soapy water.
Step 8: Sink and Garbage Disposal
- Sink: Scrub the sink with a mixture of baking soda and water, paying attention to the drain area.
- Garbage Disposal: Freeze vinegar in an ice cube tray and run the cubes through the disposal to freshen and clean it.
Step 9: Final Touches
- Reassemble: Allow all components to dry thoroughly before reassembling your appliances.
- Polishing: Use a stainless steel cleaner for appliances with a stainless steel finish, making them shine like new.
Deep cleaning your kitchen appliances is an essential ritual that ensures a clean and efficient cooking space. By investing a little time and effort, you’ll not only extend the lifespan of your appliances but also create a healthier and more pleasant environment for your culinary endeavors. So roll up your sleeves, gather your supplies, and embark on a journey to a sparkling and organized kitchen!


