Maintaining White Grout: Tips & Tricks
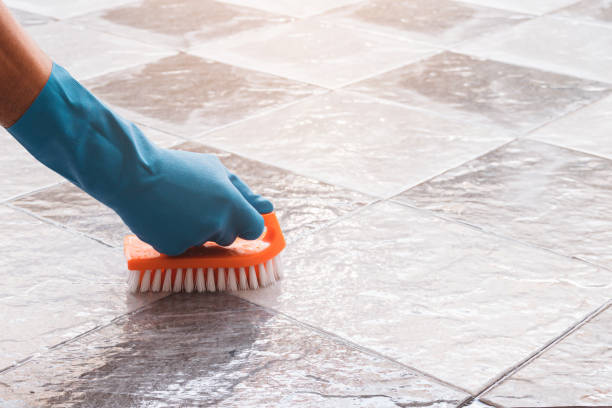
White grout can add a clean and polished look to your tiles, whether in the bathroom, kitchen, or any tiled area of your home. However, keeping white grout looking pristine requires regular maintenance and proper cleaning techniques. In this blog post, we’ll explore effective tips and tricks to help you maintain white grout and keep your tiled surfaces looking bright and fresh.
Why White Grout Requires Special Care
White grout is notorious for showing dirt, grime, and discoloration more prominently than darker grout colors. Its porous nature can easily absorb stains, making it challenging to keep clean over time. However, with the right approach and consistent care, you can preserve the clean aesthetic of white grout and prolong its lifespan.
Essential Tools and Materials
Before diving into specific cleaning methods, gather the following tools and materials:
- Soft-bristled brush: Use a toothbrush or a grout brush with soft bristles to scrub grout lines effectively.
- White vinegar: A natural cleaning agent that helps remove stains and disinfect grout.
- Baking soda: A gentle abrasive that aids in lifting stains from grout without damaging the surface.
- Hydrogen peroxide: Effective for tackling tough stains and brightening grout.
- Microfiber cloth or sponge: Use for wiping and drying grout lines after cleaning.
Step-by-Step Cleaning Process
Follow these steps to clean and maintain white grout effectively:
1. Regular Cleaning Routine
- Daily maintenance: Wipe down tiled surfaces regularly with a damp cloth or sponge to prevent dirt buildup.
- Weekly cleaning: Mix equal parts white vinegar and water in a spray bottle. Spray the solution onto the grout lines and let it sit for a few minutes. Scrub gently with a soft-bristled brush, then rinse with water. Dry thoroughly with a microfiber cloth to prevent water spots.
2. Deep Cleaning Methods
- Baking soda paste: Create a paste using baking soda and water. Apply the paste to the grout lines, scrub gently, and let it sit for about 10-15 minutes. Scrub again and rinse with water. Repeat if necessary for stubborn stains.
- Hydrogen peroxide: For more stubborn stains, mix hydrogen peroxide with baking soda to form a paste. Apply to the grout lines, scrub gently, and let it sit for 10-15 minutes before rinsing with water.
- Engage a professional: Sometimes you will need a professional tile and grout cleaning service completed. Jim’s Carpet Cleaning have the machinery and products to ensure your grout looks brand new.
3. Preventive Measures
- Grout Sealing: Apply a grout sealer annually to protect white grout from stains and discoloration. Ensure the grout lines are clean and dry before applying the sealer.
- Avoid harsh cleaners: Steer clear of abrasive cleaners and bleach-based products, as they can damage grout over time and cause discoloration.
Additional Tips for Maintaining White Grout
- Use a toothbrush: For intricate grout lines or small areas, use an old toothbrush dipped in cleaning solution to scrub effectively.
- Steam cleaning: Consider using a steam cleaner to deep clean grout lines and lift embedded dirt and stains without chemicals.
- Dry thoroughly: After cleaning, ensure grout lines are completely dry to prevent mold and mildew growth.
Maintaining white grout requires diligence and regular upkeep, but the effort is worthwhile for the clean and polished look it brings to your tiled surfaces. By following these tips and incorporating a consistent cleaning routine, you can enjoy bright and beautiful white grout that enhances the overall appearance of your home.
Implement these tips into your cleaning regimen to preserve the pristine appearance of your white grout and ensure your tiled surfaces remain a focal point of cleanliness and elegance in your home. With proper care, your white grout can continue to shine for years to come.