Jim's Cleaning Group was the winner of the ProductReview.com.au 2025 award for Exceptional Feedback and Service Excellence

A deep clean of your home can feel like an overwhelming task, but it doesn’t have to be! With a little planning and the right approach, you can achieve a sparkling, fresh home in just one weekend. Whether you’re preparing for a special event, tackling a spring cleaning project, or just need a fresh start, this guide will show you how to deep clean your entire home in two days—no stress, no fuss!
A little preparation goes a long way when it comes to deep cleaning. Before you dive into scrubbing and organizing, take some time to gather your cleaning supplies and create a game plan.
What You’ll Need:
Tip: Write out a cleaning checklist and break the tasks down by room. This will help you stay on track and ensure nothing gets missed.
Before you even think about picking up a mop, it’s important to declutter your space. A clean surface is much easier to scrub when there’s less stuff in the way. Decluttering will also make your home look cleaner and more organized right away, which is motivating.
How to declutter quickly:
Focus on the areas that are used most often, such as the kitchen, living room, and bathroom. These areas tend to collect the most dirt and grime, so getting them out of the way early will help you feel more accomplished.
Now that the high-traffic areas are looking fresh, it’s time to focus on your personal spaces. Bedrooms and closets can often get overlooked in a regular cleaning session, but they deserve attention, too.
The little things can make a big difference when it comes to deep cleaning. It’s often the small details that add a fresh, polished feel to your home.
How to tackle the details:
Floors often take the most abuse, so giving them a deep clean is one of the most rewarding parts of the process. You’ll notice a huge difference once your floors are spotless.
Once all the cleaning is done, take a step back and admire your hard work. Add a few finishing touches to make your home feel cozy and inviting.
Deep cleaning your home in just one weekend is completely achievable with the right plan and a little bit of elbow grease. By breaking down the tasks room by room and focusing on high-traffic areas first, you’ll be able to tackle your entire home without feeling overwhelmed. And don’t forget, a little decluttering goes a long way in creating a fresh, organized space!
Don’t have the time personally? Jim’s Cleaning can give you a helping hand. Book online to receive your obligation free quote today!
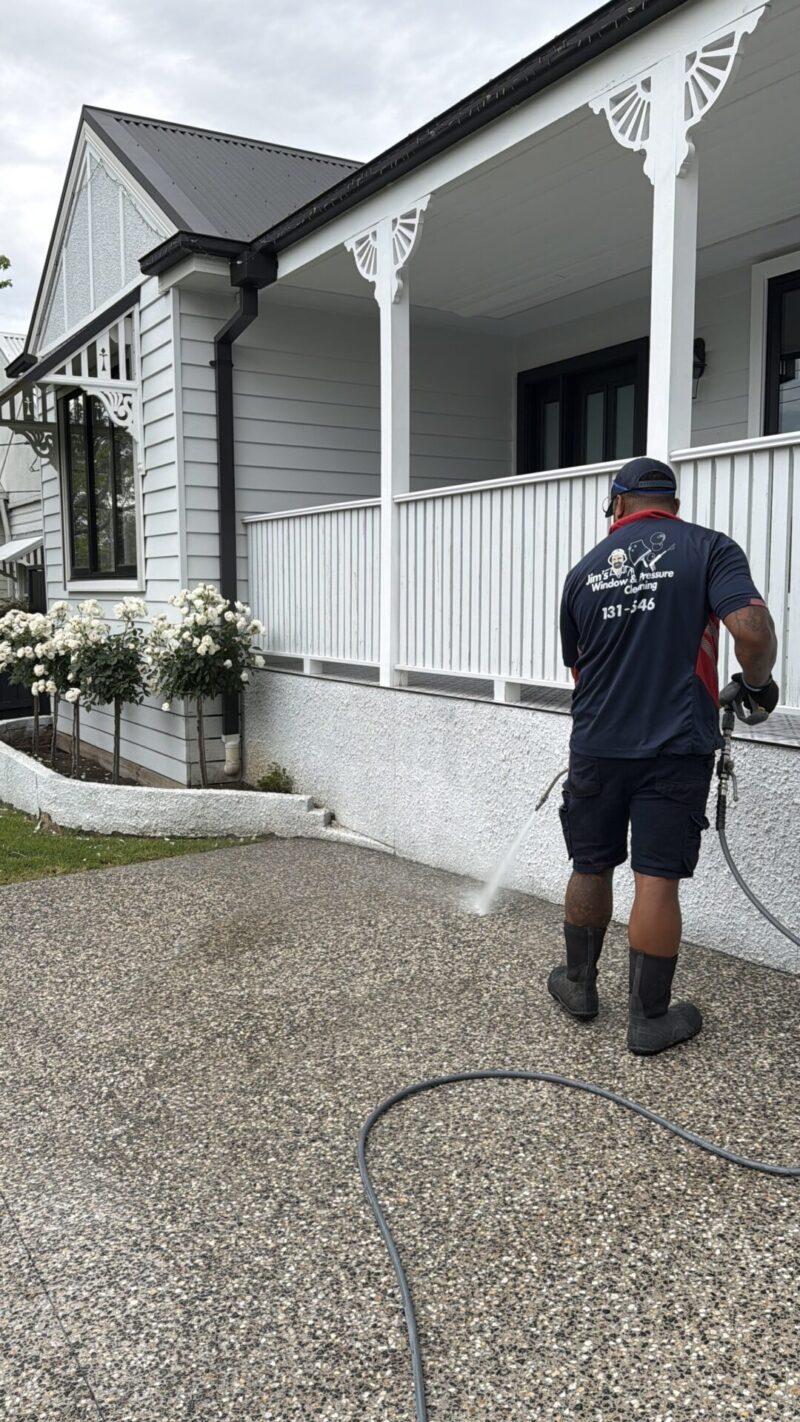
Your driveway is the true entrance to your property. Oil stains, black streaks, mould, mildew, and algae all make for an unsightly first impression to your home. Following these simple steps will keep your concrete looking brand new, improving the curb appeal of your property. 1. Take Action On Oil When oil penetrates concrete, it […]
What is Involved in a Boat Detailing Service? Boats are a great means of navigating the sea and a symbol of leisure. If you’re a boat owner then you must be aware of the need for boat maintenance and boat detailing services. These services can help you in keeping your boat afloat for […]
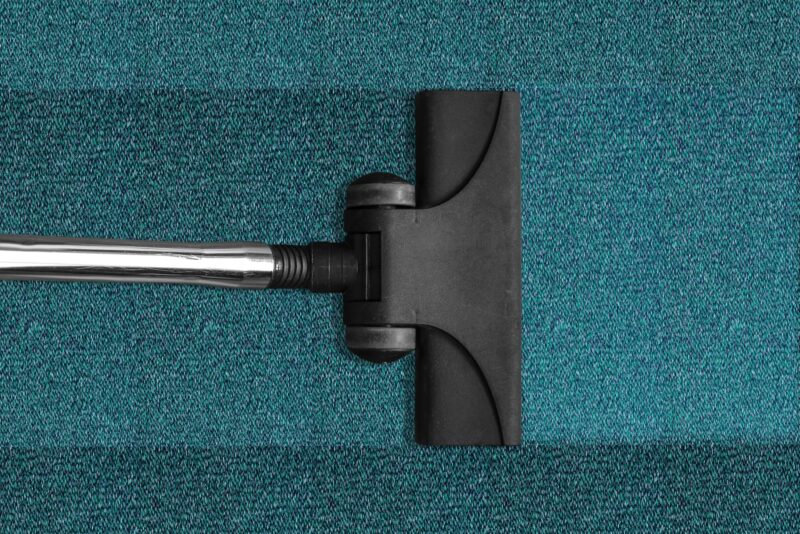
You’ve scheduled a professional deep clean, but the lingering surface dust and pet hair have you wondering: “Do I need to vacuum before carpet cleaning?” While running the vacuum right before the experts arrive might seem redundant, skipping this step can actually turn loose dirt into a muddy mess, pushing grime even deeper into the […]
If you’ve ever looked down at your driveway and noticed dark patches, oil stains, tyre marks or that general “dullness” that never seems to budge, you’re not alone. Concrete is one of the most overlooked areas of the home — until it starts to look tired. Our team recently cleaned an exposed aggregate concrete driveway […]