Blind Cleaning Mistakes to Avoid: How to Protect Your Blinds While Cleaning
Blinds are a great addition to any room, offering both privacy and control over light. However, they can quickly collect dust, grime, and allergens, making regular cleaning essential. But did you know that improper cleaning techniques can damage your blinds, reducing their lifespan and causing unnecessary wear and tear? To keep your blinds in top condition, it’s important to avoid common cleaning mistakes. In this guide, we’ll explore the most frequent errors people make when cleaning their blinds and offer tips to protect them while maintaining a clean, fresh look.
1. Using Harsh Chemicals
One of the biggest mistakes is using strong, abrasive cleaning products like bleach or ammonia on blinds. These chemicals can strip the finish from blinds, especially those made from wood or faux wood, and can cause discoloration or cracking over time.
What to do instead: Use mild, non-abrasive cleaners. For general cleaning, a mixture of water and a few drops of dish soap is sufficient. For tougher stains, you can add a small amount of vinegar to the solution. Always check the manufacturer’s instructions to ensure you’re using the right products for your specific type of blinds.
2. Excessive Water on Wood Blinds
Water is the enemy of real wood blinds. When wood absorbs too much moisture, it can warp or crack, which is irreversible. Many people make the mistake of soaking their blinds in water or using a wet cloth during cleaning, which can lead to long-term damage.
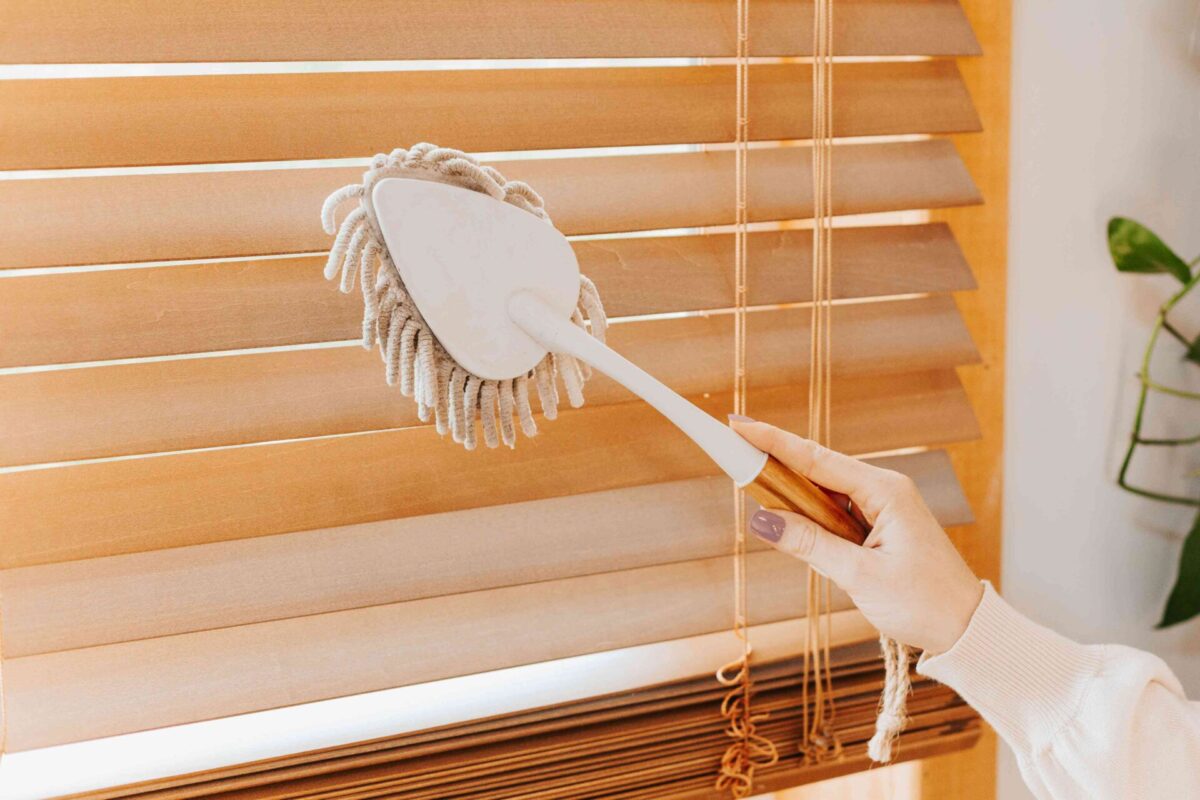
What to do instead: For wood blinds, avoid using water altogether. Instead, use a dry microfiber cloth or a vacuum with a brush attachment to remove dust. If your wood blinds need a more thorough cleaning, lightly dampen a cloth and wipe gently, making sure to dry immediately with a soft, dry towel.
3. Scrubbing Too Hard
Blinds can be delicate, especially those made of fabric or lightweight materials like vinyl or aluminum. Scrubbing aggressively can cause blinds to bend, tear, or lose their shape. This is a common mistake people make when trying to remove stubborn dirt or stains.
What to do instead: Be gentle when cleaning your blinds. For dirt or dust, a light dusting with a microfiber cloth or feather duster is often enough. If you encounter a stain, try spot-cleaning it with a soft cloth and a mild cleaner, dabbing gently rather than scrubbing.
4. Skipping the Dusting Step
Some people go straight to washing their blinds without dusting them first. This mistake can lead to the dust turning into a muddy mess when mixed with water, making the cleaning process much harder and potentially leaving streaks or spots behind.
What to do instead: Always start by dusting your blinds thoroughly. Use a duster, microfiber cloth, or vacuum with a brush attachment to remove the loose dust and dirt. Once the surface is free of dust, you can proceed with washing or wiping them down if necessary.
5. Not Cleaning Both Sides of the Blinds
It’s easy to focus on the side of the blinds that faces the room, but the other side — often facing the window — also collects dust and grime. Neglecting this side can leave your blinds only half-clean and can lead to uneven wear over time.
What to do instead: Make sure you clean both sides of your blinds. Rotate the slats or detach the blinds if needed to access the back. By regularly cleaning both sides, you’ll keep your blinds looking fresh and prevent dirt buildup.
6. Using the Wrong Cleaning Tools
Many people use household items that aren’t designed for cleaning blinds, like paper towels or rough sponges. These can cause scratches, leave lint, or fail to clean the blinds properly, especially on delicate materials like fabric or metal.
What to do instead: Use the right tools for the job. Microfiber cloths, soft dusters, and vacuum cleaner attachments designed for blinds are your best bet. For fabric blinds, a handheld vacuum or a lint roller can work wonders to remove dust and debris without damaging the material.
7. Neglecting Regular Maintenance
Blinds often go months without being cleaned, allowing dust and dirt to accumulate. The longer you wait, the harder it will be to clean them properly, and the more likely it is that dust and grime will become ingrained in the material.
What to do instead: Establish a regular cleaning schedule. For most blinds, a light dusting once a week or every two weeks will prevent major dust buildup. Once a month, you can give them a more thorough cleaning depending on the type and location of the blinds (for example, kitchen blinds might need more frequent attention).
8. Taking Blinds Down Unnecessarily
While taking blinds down for cleaning can be necessary for deep cleaning, doing this too often can lead to damage. Improper removal and reinstallation can weaken the brackets, scratch the blinds, or cause them to lose alignment.
What to do instead: Only remove blinds if it’s absolutely necessary, such as for deep cleaning fabric blinds or if there’s a large buildup of dirt. For most blinds, cleaning them while they’re still mounted is sufficient. Use a vacuum, a long-handled duster, or a cloth to clean without the need for removal.
9. Ignoring the Hardware
While the slats or panels of the blinds get the most attention, it’s easy to forget about the cords, strings, and brackets. Over time, these parts can collect dust and grime, causing the blinds to malfunction or look dingy.
What to do instead: Regularly wipe down the cords, strings, and any metal or plastic parts with a damp cloth. Be careful not to pull too hard on the cords to avoid damage. Keeping these parts clean will help your blinds function smoothly and look better overall.
Conclusion
Blinds are an essential part of your home’s décor and functionality, but they require the right care to last. By avoiding these common cleaning mistakes and following best practices, you can keep your blinds in great condition for years to come. Regular, gentle cleaning with the proper tools and techniques will ensure that your blinds remain clean, functional, and beautiful. And for those times when your blinds need professional care, Jim’s Blind Cleaning & Repairs is just a call away. With their expert services, you can enjoy clean, beautiful blinds without the stress of doing it all yourself.
