How To Clean Your Microwave
There’s nothing worse than opening your microwave door and catching an off-putting smell or seeing food splatter on the roof. It’s enough to make you wonder just how sanitary your meal can be if you keep heating food with your microwave in this dreaded state.
Whether you’re dealing with stubborn stains or foul smells, we’ve got you covered with natural microwave cleaning methods that use everyday household items. Before diving into the step-by-step process of cleaning your microwave, it’s important to recognise why cleaning inside a microwave is essential.
Why regular microwave cleaning is important
Regular microwave cleaning is crucial for several reasons. First, it helps maintain the hygiene of your kitchen. Food particles and spills can accumulate over time, creating a breeding ground for bacteria and unpleasant odours, which can impact the taste and smell of your food.
A clean microwave also functions more efficiently. Grease and grime can affect the appliance’s performance, causing it to heat unevenly or even damage the interior components. Cleaning your microwave regularly ensures your appliance remains hygienic and lasts longer. After all, a build-up of lingering stains is bound to make your appliance age much faster.
How often should you clean your microwave?
How often you clean your microwave depends on how often you use it. Generally, you should give your microwave a wipe every few days to avoid food residue build-up. If there are spills, clean immediately with a damp cloth to prevent bacteria from forming.
When cooking steamy foods like vegetables, rice or pasta, wiping the microwave interior with a microfibre cloth will absorb any moisture build-up.
Tools and supplies you’ll need
Before you start cleaning inside your microwave, gather the following tools and supplies:
- Microwave-safe bowl
- Water
- Soft sponge or cloth
- Microfibre towel
- A toothbrush or small scrubbing brush
Choose from any of the following ingredients you have at home:
- Lemon
- Baking soda
- White vinegar
These household items are safe for your microwave and better for the environment.
How to clean your microwave with vinegar and water
White vinegar is a widely used household cleaner known for its acidic properties. It contains acetic acid, which helps break down grease, loosen grime and dissolve mineral deposits. Vinegar also neutralises odours, making it particularly useful for appliances like microwaves that can trap food smells.
Because it’s non-toxic and affordable, vinegar is often a go-to option for anyone looking to clean their microwave naturally. When heated, the vinegar and water mixture creates steam that softens hardened food residue, making it easier to wipe away with minimal scrubbing.
Here’s what to do:
- Fill a microwave-safe bowl with equal parts of water and white vinegar.
- Place the bowl in the microwave and heat it on high for about five minutes. The steam from the vinegar solution will loosen any food particles and grime.
- Carefully remove the bowl from the microwave.
- Wipe down the interior with a soft sponge or cloth. Focus on areas with visible stains or residue.
- Dip the sponge in the vinegar solution and scrub gently for stubborn spots.
- Use a microfibre towel to dry the interior and remove any remaining moisture.
- Scrub with a toothbrush or small scrubbing brush for detailed cleaning.
How to clean your microwave using lemon and water
Lemon is another great natural cleaning agent. The citric acid in lemons acts as a mild disinfectant, and its antibacterial properties can help reduce germs. It’s a gentle, natural way to clean your microwave while leaving a fresh citrus scent behind.
In addition to its cleaning power, lemon steam helps loosen dried-on food particles. The warmth and moisture work together to soften grime, making it easier to wipe away. This method is ideal for regular upkeep, especially if you want your microwave to smell and look clean.
Follow these steps to clean your microwave with lemon and water:
- Cut a lemon in half and squeeze the juice into a microwave-safe bowl.
- Add about a cup of water to the bowl and drop the lemon halves in as well.
- Microwave the bowl on high for five minutes. The steam from the lemon water will help loosen the grime.
- Let the bowl sit in the microwave for a few minutes to allow the steam to work.
- Remove the bowl and wipe the interior with a soft cloth or sponge.
- For tough stains, scrub directly using the lemon water solution.
- Dry the interior with a microfibre towel.
How to clean your microwave using baking soda
Baking soda is a mild abrasive that can tackle food and greasy splatters stuck inside your microwave. It works by physically loosening grime without scratching surfaces. Additionally, baking soda neutralises odours, making it a great option when your microwave smells musty or burnt.
When turned into a paste with water, it clings well to stains. It’s especially useful for spot-cleaning problem areas and lifting surface stains that make the interior look dull or dirty.
Use it like so:
- Make a paste by mixing baking soda with a small amount of water.
- Apply the paste to any stubborn stains or greasy areas inside the microwave.
- Let the paste sit for 10 minutes to break down the grime.
- Use a damp sponge or cloth to scrub the stains.
- Wipe down the interior with a clean, damp cloth to remove any residue.
- Dry with a microfibre towel.
What to look for in non-natural microwave cleaners
If you prefer using store-bought cleaning products instead of natural or sustainable ingredients, that’s totally fine — just be sure to choose the right type. Look for microwave-safe cleaners that are specifically labelled for use on kitchen appliances.
These are usually formulated to cut through grease and baked-on food without damaging the interior surfaces of your microwave. Avoid anything too harsh or abrasive, especially products with bleach or ammonia, as they can release strong fumes when heated and may damage the appliance over time.
Also, make sure any product you use leaves no harmful residue behind. Microwaves heat food in close contact with their surfaces, so it’s important that any cleaner you apply can be wiped away thoroughly and safely.
Deep-clean — the best way to clean a microwave for maximum results
While regular microwave cleaning is important to maintain the cleanliness of your appliance, the best way to clean a microwave is a monthly deep clean that will get those hard-to-reach spots that a simple wipe-down won’t achieve. For a sparkly clean microwave, follow the steps below:
1. Remove and clean the turntable
Start by removing the turntable and any removable components inside the microwave. Wash these pieces with warm, soapy water and let them air dry. If there are tough stains, soak the turntable in a mixture of water and vinegar for a few minutes before scrubbing.
2.. Clean off grease build-up
Mix baking soda and water to create a paste for grease build-up inside the microwave. Apply the paste to greasy areas and let it sit for a few minutes before scrubbing with a sponge. Rinse with a damp cloth to remove any residue.
3. Clean the door frame, dials or buttons
Use a soft cloth or sponge dipped in water and mild detergent to clean the door frame, dials and buttons. For small crevices, a toothbrush can help remove dirt and grime effectively.
4. Clean the sides, top and back of the microwave
Remember to clean the sides, top and back of the microwave. Wipe these areas with a damp cloth and a mild cleaning solution. Dry all surfaces thoroughly to prevent moisture from entering the microwave’s electrical components.
Everyday tips to maintain a clean microwave
To keep your microwave clean and reduce the frequency of deep cleaning, follow these tips:
- Cover your food — Use a microwave-safe cover to cover your food while heating, preventing splatters and spills.
- Wipe down regularly — After each use, wipe down the interior with a damp cloth to remove any food particles or spills.
- Deep clean monthly — Perform a thorough cleaning at least once a month to prevent buildup and make regular microwave cleaning easier.
- Use microwave-safe containers — Ensure you use containers that are safe for microwave use. Avoid plastic containers that can melt or release harmful chemicals.
- Avoid overheating — Be mindful of the cooking time and power settings to prevent food from exploding or spilling over.
Maintaining overall kitchen hygiene also plays a big role in keeping your microwave clean. When surrounding areas like benchtops, splashbacks and cooking zones are kept free from grease and food debris, there’s less chance of the mess transferring to your appliance. In short, a cleaner kitchen makes it much easier to keep your microwave looking and performing its best.
Should you still manually clean a self-cleaning microwave?
Self-cleaning microwaves are designed to make cleaning easier. They use steam or heat to loosen grime and food splatters inside the appliance. But even with this built-in function, manual cleaning is still necessary.
A useful microwave cleaning hack for these models is to use the self-clean feature only when it’s needed — such as after cooking something particularly greasy or messy. Using it too often can wear out internal parts and reduce the life of your appliance.
To keep things in top condition, follow up every self-clean with a quick wipe to remove loosened residue before it dries again. Clean the exterior regularly, including the handle and buttons, and check for filters if your model has them.
These small steps can help your microwave stay clean, fresh and running smoothly without relying too heavily on the self-clean function.
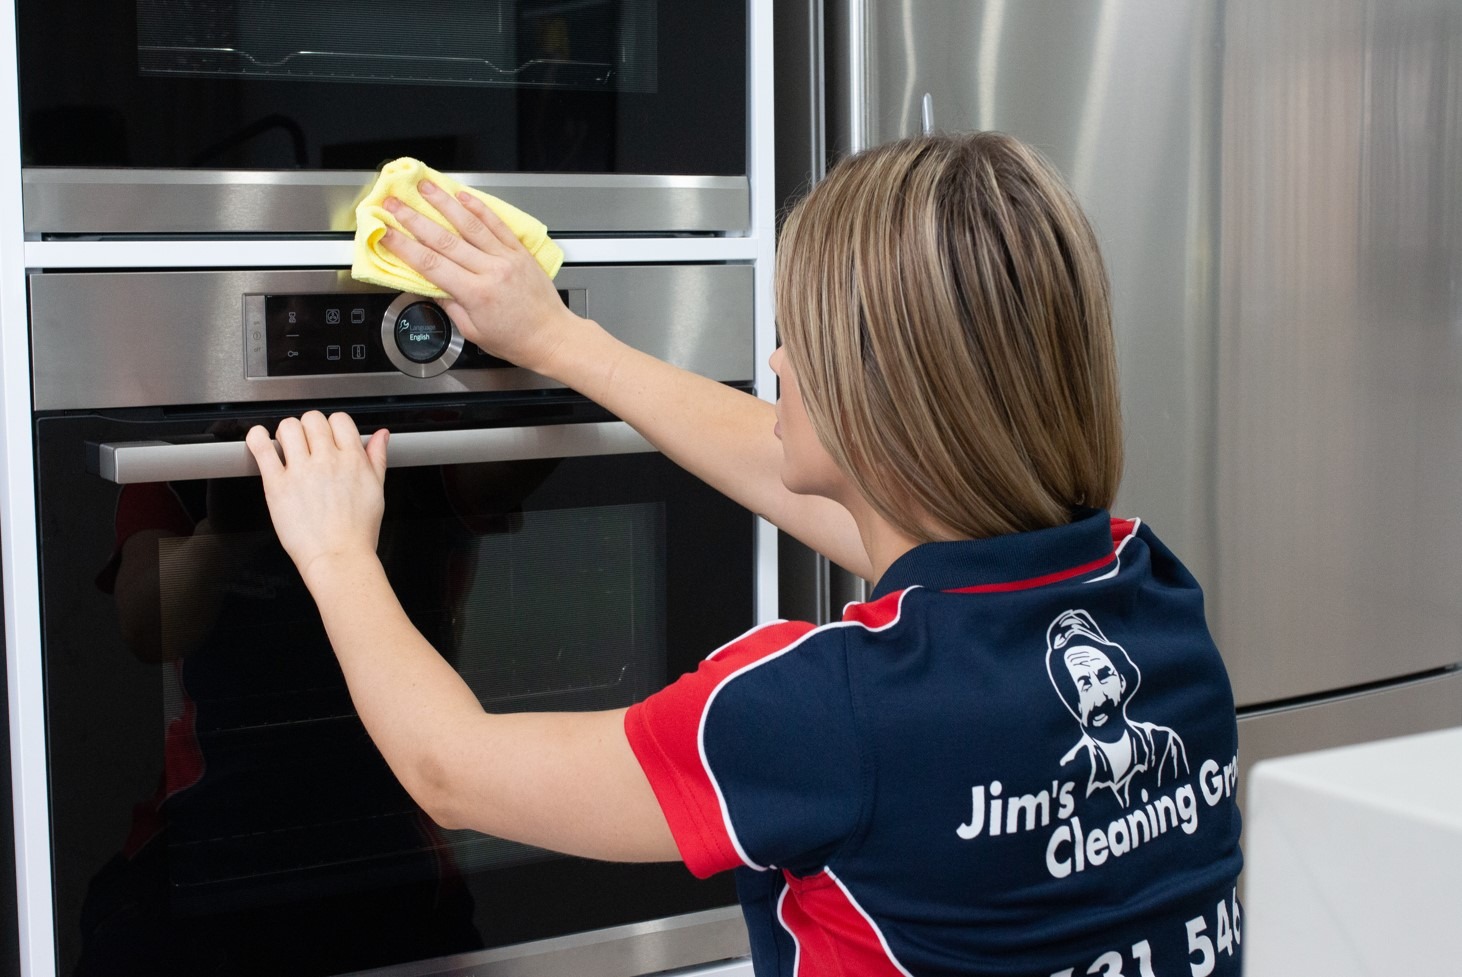
Request a free quote from Jim’s Cleaning
Maintaining one of your most-used appliances doesn’t have to be a daunting task — especially now that you’ve got the best ways to clean your microwave in your toolkit. Whether you prefer vinegar, lemon or baking soda, these simple steps will help you achieve a spotless and odour-free microwave. Alternatively, you can buy Jim’s All Purpose Surface Spray, which is plant-derived and 100% chemical-free.
For those times when you’re too busy or need a professional touch, consider reaching out to Jim’s Cleaning for a free quote for our home and office cleaning services. Our expert team can handle all your cleaning needs, ensuring your kitchen appliances and home or business are spotless and well-maintained.
If you have any questions, call Jim’s Cleaning at 131 546 from Monday to Friday, 7 am to 8 pm, or Saturday to Sunday, 8 am to 4 pm — we’re more than happy to assist.